Installing a WordPress theme takes about two minutes, and most of the time you will do it in the dashboard with a few clicks. The part that deserves your attention is what happens around the install: the backup before it, the preview before you activate, and the checks afterwards. This guide covers all three ways to install a theme, explains how to activate it safely, and lists the fixes for the most common errors.
Before you start: three quick checks
- Back up your site. Switching a theme does not delete your posts or pages, but it can change how everything looks, and a mistake or a broken theme is much less stressful when you can restore a copy from this morning. Back up both files and the database.
- Consider testing first. If the site is live and busy, try the new theme on a staging copy or a local test site. The WordPress documentation suggests setting up a test site if you want to test a theme thoroughly before using it on a live one.
- Know what kind of theme it is. A block theme is customised in the Site Editor (Appearance → Editor), while a classic theme uses the Customizer (Appearance → Customize). Block themes do not use the Customizer in the same way, so do not be surprised when the menu looks different.
The three ways to install a theme
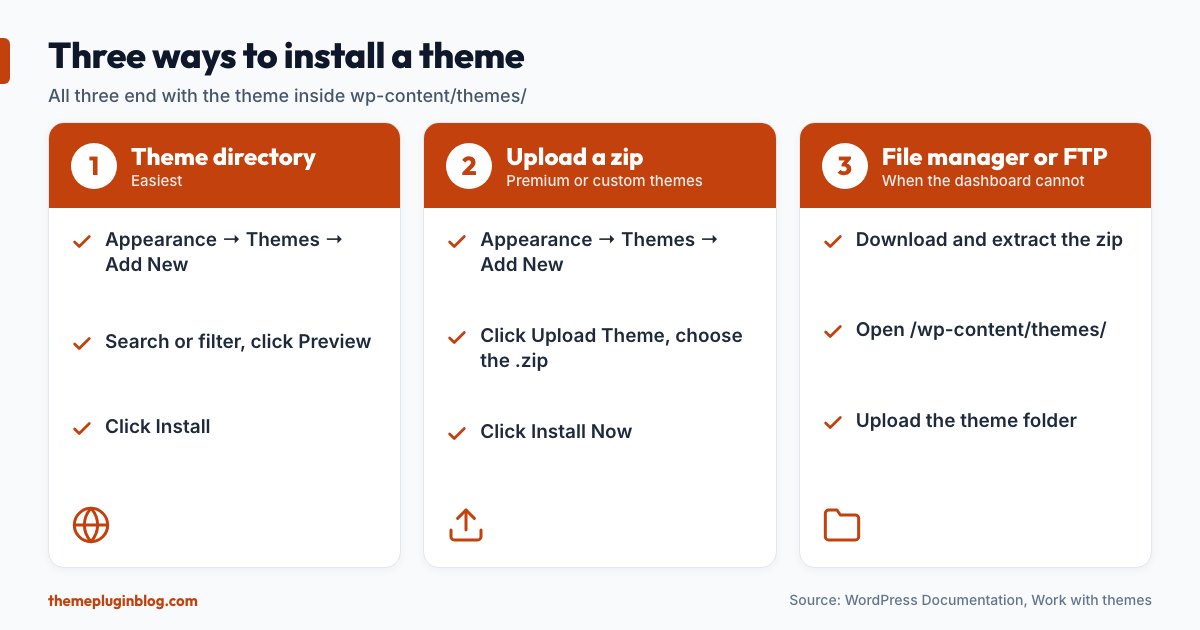
wp-content/themes/, ready to activate.Method 1: Install from the WordPress theme directory (easiest)
This is the right method for any theme listed on WordPress.org. The documentation says you can download any theme from the Theme Directory directly to your site using the Add New option in the Appearance menu.
- Log in to your WordPress dashboard.
- Go to Appearance → Themes, then click Add New.
- Use the search box or the filters (layout, subject and features, including a filter for block themes) to find a theme.
- Hover over a theme and click Preview to see a demo, or Install to add it to your site.
- When the install finishes, you will see a button to Activate. Do not click it yet. First read the section on activating below.
Method 2: Upload a theme as a zip file
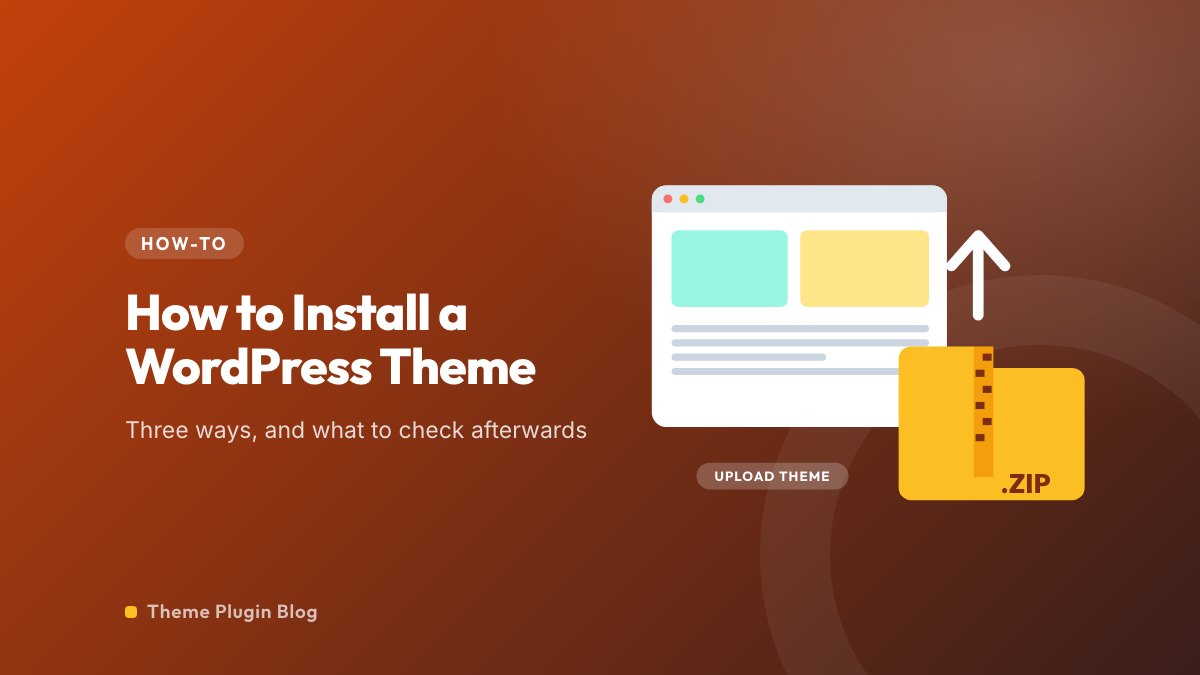
Use this for premium themes you bought elsewhere, or for a theme a developer gave you as a .zip file.
- Download the theme's
.zipfile to your computer. Do not unzip it. - Go to Appearance → Themes → Add New.
- Click the Upload Theme button at the top of the page, choose the file, and click Install Now.
- Wait for the "Theme installed successfully" message.
A common trap: some marketplaces give you one big download that contains the theme plus documentation and demo files. WordPress needs the zip that holds the theme itself, with a style.css file at its top level. If the zip you downloaded contains other zip files, look inside for the one named after the theme and upload that.
Method 3: Copy the folder with a file manager or FTP
You need this method when the dashboard installer does not work, for example when your host limits upload sizes or file permissions. The documentation describes two variations.
With cPanel's File Manager (if your host provides it):
- Download the theme's
.zipfile. - In cPanel File Manager, open
public_htmland go into/wp-content/themes/. The exact path can differ a bit by host. - Click Upload and add the zip file.
- Right-click the uploaded file and choose Extract.
With an FTP or SFTP client:
- Download the zip and extract it on your computer. You should have a folder named after the theme, containing the theme files.
- Connect to your server with your FTP client and open
/wp-content/themes/. - Upload the entire theme folder there. Use SFTP rather than plain FTP if your host supports it, because it encrypts your login.
Whichever way the theme got into the themes folder, it now appears in Appearance → Themes and is ready to activate.
Activating the theme safely
All themes in the themes folder can be activated or updated, but only one can be active at a time. Before you click Activate, use Live Preview. The documentation explains that, for a theme that is already installed but not active, Live Preview shows a preview of your site with your own existing content, so you can see what you will get without changing what visitors see.
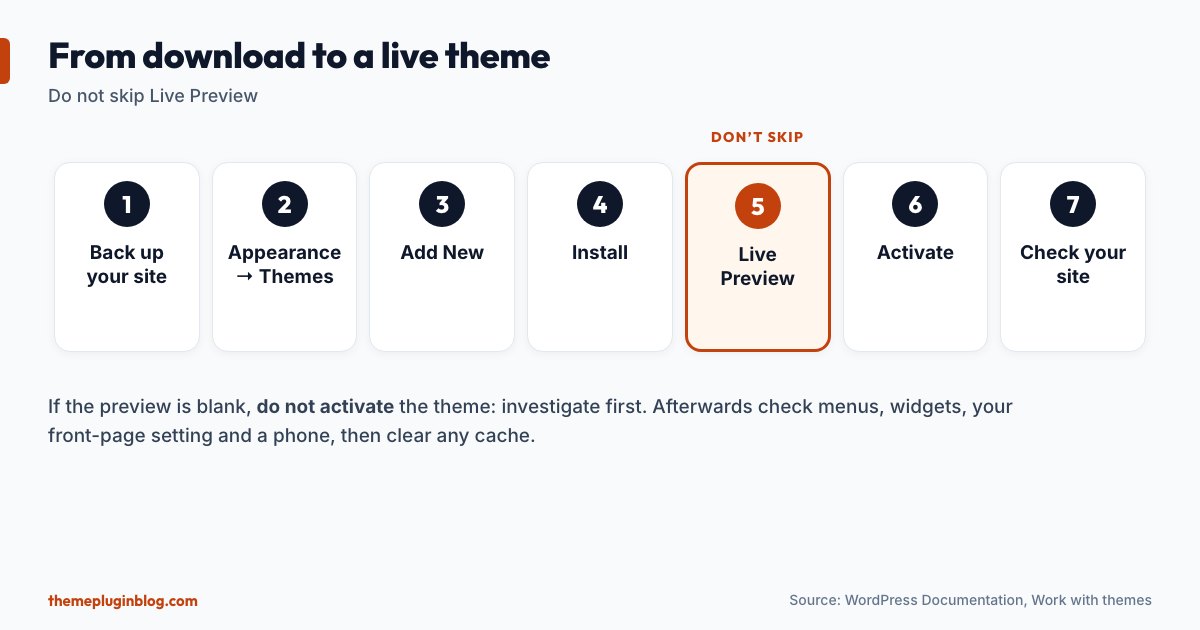
One warning from the official documentation is worth repeating: if the theme preview is blank, do not activate the new theme without investigating further, because your site may not display correctly. If you do not see the theme's thumbnail at all, the theme may be corrupted or broken, and you should contact the theme author for help.
When the preview looks right, click Activate. Your selection becomes active immediately.
What to check right after activating
A theme change affects more than colours. Go through this list on both a computer and a phone:
- Home page, a blog post and a regular page. Do headings, images and tables look right?
- Menus. Menu locations belong to the theme, so a classic theme may need you to assign your menu again under Appearance → Menus. On a block theme, the navigation lives in the header template in the Site Editor.
- Logo and site title under Appearance → Customize (classic) or the Site Editor (block).
- Widgets. Sidebar and footer widgets are tied to the theme's widget areas and may not carry over.
- Front page setting under Settings → Reading, if you use a static home page.
- Forms, search and comments, to make sure they still display and submit.
- Caches. If you use a caching plugin, clear it, so visitors do not see a mixture of old and new.
If you want to change the theme's code, use a child theme
A common mistake is to edit the theme's files directly to change a template or add custom code. The next theme update will erase those changes. The documentation's advice is that if you simply want to customise your current theme for your own use, consider creating a child theme: a small theme that inherits everything from a parent theme and holds only your changes. You install both the parent and the child, and you activate the child. Many good themes offer a ready-made child theme to download. On a block theme, much of what people used to do with code can be done in the Site Editor instead.
A note on one-click demo imports
Many themes include a demo importer that copies a sample site, with pages, menus and often extra plugins, in one click. It is a quick way to get a polished starting point on a brand-new site, but be careful on a site that already has content. An importer can add dozens of sample pages and posts, install plugins you did not ask for and overwrite settings. Use it only on a fresh install or a test copy, and review which plugins it wants before accepting.
Fixing common problems
- "The package could not be installed" or "The theme is missing the style.css stylesheet." You probably uploaded the wrong zip, such as a bundle that contains documentation. Open the download, find the zip named after the theme and upload that one.
- "The uploaded file exceeds the upload_max_filesize directive." Your host limits upload size. Raise the limit in your hosting control panel, or use Method 3 instead.
- The theme appears blank or broken in the Themes screen. The files may be nested one folder too deep, for example
themes/mytheme/mytheme/style.css. The theme folder should hold the files directly. - A blank white screen after activating. This usually means a fatal error in the theme. Connect with FTP or your host's file manager, go to
wp-content/themes/and rename the problem theme's folder. WordPress then falls back to another installed theme, and you can log in again. This is why it helps to keep one default theme installed. - The site looks different on mobile. Check theme settings for responsive options, and test again after clearing caches.
Tidy up afterwards
Delete themes you tried and did not keep, because inactive themes still need updating and old code is an unnecessary risk. A good habit is to keep your active theme, its child theme if you use one, and one default theme such as Twenty Twenty-Five as a fallback. To delete one, go to Appearance → Themes, click the theme, and use Delete in the lower right of the details panel.
The bottom line
Install from the theme directory when you can, upload a zip when you must, and use a file manager or FTP when the dashboard cannot. In every case: back up first, use Live Preview before you activate, treat a blank preview as a stop sign, and check your menus, widgets and key pages afterwards. Do that, and a theme change is a ten-minute job rather than a weekend rescue.
Sources
Steps and cautions are taken from the official WordPress documentation page "Work with themes" (last updated 7 August 2026), checked on 5 November 2026. Error messages quoted above are the standard WordPress messages.